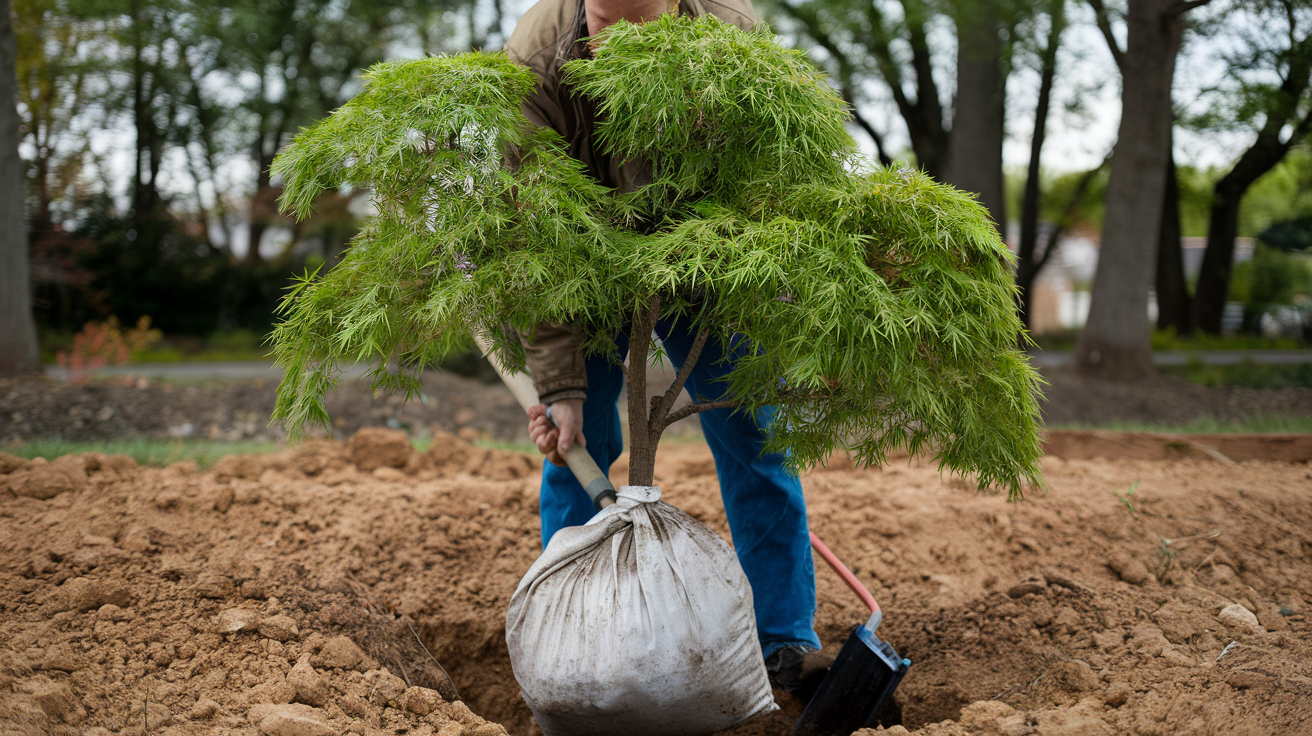
Transplanting a Japanese maple is a delicate task that requires careful planning and execution to ensure the tree’s survival and continued growth. As an experienced gardener, Rhys Garden has successfully transplanted these beautiful trees and understand the nuances involved in the process. In this guide, I’ll share essential tips and steps to help you transplant your Japanese maple with confidence, ensuring it thrives in its new location.
Understanding Japanese Maples
Before we dive into the transplanting process, it’s crucial to understand the nature of Japanese maples (Acer palmatum). These trees are prized for their delicate leaves, vibrant colors, and architectural branching patterns.
Characteristics of Japanese Maples
- Slow-growing deciduous trees
- Prefer partial shade to full sun, depending on the variety
- Thrive in well-draining, slightly acidic soil
- Sensitive to environmental changes
Why Transplant a Japanese Maple?
There are several reasons you might consider transplanting your Japanese maple:
- Outgrowing its current location
- Improving soil conditions
- Enhancing landscape design
- Protecting from adverse environmental factors
Best Time to Transplant

Timing is crucial when it comes to transplanting Japanese maples. The ideal time is during the tree’s dormant period, which typically occurs in late fall or early spring.
Fall Transplanting
- Advantages: Allows roots to establish before winter
- Best time: After leaves have fallen but before ground freezes
Spring Transplanting
- Advantages: Tree has entire growing season to recover
- Best time: Before new growth emerges
Preparing for Transplantation
Proper preparation is key to successful transplantation. Here’s what you need to do:
Site Selection
Choose a new location that meets the following criteria:
- Partial shade (especially in hot climates)
- Well-draining soil
- Protected from strong winds
- Adequate space for future growth
Root Pruning
Root pruning several months before transplanting can help the tree develop a more compact root system, making the move easier.
- Mark a circle around the tree, about 2-3 times the width of the branch spread
- Use a sharp spade to cut straight down along this line, severing roots
- Repeat this process on half of the circle in fall, and the other half in spring
Soil Preparation
Prepare the new planting site in advance:
- Dig a hole twice the width of the root ball
- Amend the soil with organic matter if needed
- Ensure proper drainage
The Transplanting Process
Now that we’ve covered the preparation, let’s walk through the actual transplanting process step by step.
Step 1: Digging Up the Tree
- Water the tree thoroughly a day before digging
- Dig a trench around the root ball, following your root pruning line
- Undercut the root ball at a 45-degree angle
- Wrap the root ball in burlap if it’s large
Step 2: Moving the Tree
- Lift the tree carefully, supporting the root ball
- Use a dolly or wheelbarrow for larger trees
- Keep the root ball intact and moist during transport
Step 3: Replanting
- Place the tree in the prepared hole at the same depth as it was originally planted
- Backfill with soil, tamping gently to remove air pockets
- Water thoroughly to settle the soil
Step 4: Post-Transplant Care
- Mulch around the base, keeping mulch away from the trunk
- Water regularly, especially during the first growing season
- Avoid fertilizing for the first year to prevent root burn
Common Challenges and Solutions
Transplanting Japanese maples can present some challenges. Here are some common issues and how to address them:
Transplant Shock
Symptoms: Leaf scorch, wilting, leaf drop
Solution: Provide consistent moisture and shade if needed
Root Damage
Symptoms: Slow growth, branch dieback
Solution: Careful digging and handling during transplant
Improper Planting Depth
Symptoms: Girdling roots, poor growth
Solution: Ensure proper planting depth, with root flare visible
Expert Tips for Success
To increase your chances of a successful transplant, consider these expert tips:
- Choose a cloudy day for transplanting to reduce stress on the tree
- Maintain as much of the root system as possible
- Consider using anti-transpirant sprays to reduce water loss
- Prune sparingly after transplanting, focusing on dead or damaged branches
Frequently Asked Questions
Here are some common questions gardeners have about transplanting Japanese maples:
Q: How big should my Japanese maple be before transplanting?
A: Ideally, Japanese maples should be transplanted when they are still relatively small, typically less than 8 feet tall. However, larger trees can be moved with proper preparation and care.
Q: Can I transplant my Japanese maple in summer?
A: While it’s possible, it’s not recommended. Summer transplanting puts significant stress on the tree due to high temperatures and increased water demand.
Q: How long does it take for a transplanted Japanese maple to recover?
A: Recovery time varies, but most trees show signs of recovery within one growing season. Full establishment can take 2-3 years.
Q: Should I fertilize my newly transplanted Japanese maple?
A: It’s best to wait at least one year before fertilizing to avoid root burn. Focus on providing adequate water and proper care instead.
Q: Can I transplant a Japanese maple growing in a container?
A: Yes, container-grown Japanese maples are often easier to transplant as their root systems are already confined.
Conclusion
Successfully transplanting a Japanese maple can be a rewarding experience, adding grace and beauty to your garden for years to come. By following the proper techniques and giving your tree the care it needs during the transition, you can minimize stress on the plant and promote healthy growth. With patience and attention to detail, your Japanese maple will flourish in its new home, becoming a centerpiece in your landscape.

Related Posts
Are Wild Flowers Perennial? Unveiling Nature’s Blooming Secrets
Growing Johnny Jump Up Seeds: A Gardener’s Guide to Viola Tricolor
Designer Garden Gate With Pergola: Elevate Your Garden Entrance